 Bellingham Siding
 Building New in Sunnyland Means Building for This Climate
Sunnyland sits close enough to Bellingham Bay that salt-laden air is a constant, not an occasional visitor. Add Whatcom County's long stretch of driving rain each fall and winter, plus a moss season that can run eight or nine months out of the year on shaded lots, and you've got a set of conditions that punishes window installations with any weak point. On a new build, that weak point is almost always the interface where the window meets the rough opening — the flashing, the sealant, the water-resistive barrier tie-in. Get that wrong once during framing and it stays wrong for the life of the house, hidden behind siding and trim until a stain shows up on an interior sill years later.
New construction is actually the best time to get this right. Unlike a retrofit, you're not fighting existing siding, old flashing, or a finished interior. The rough openings are open, the sheathing and WRB are exposed, and there's no excuse for a shortcut. That's the opportunity — and it's also why the installer you choose for this stage matters more than almost any other trade decision on the exterior of the house.
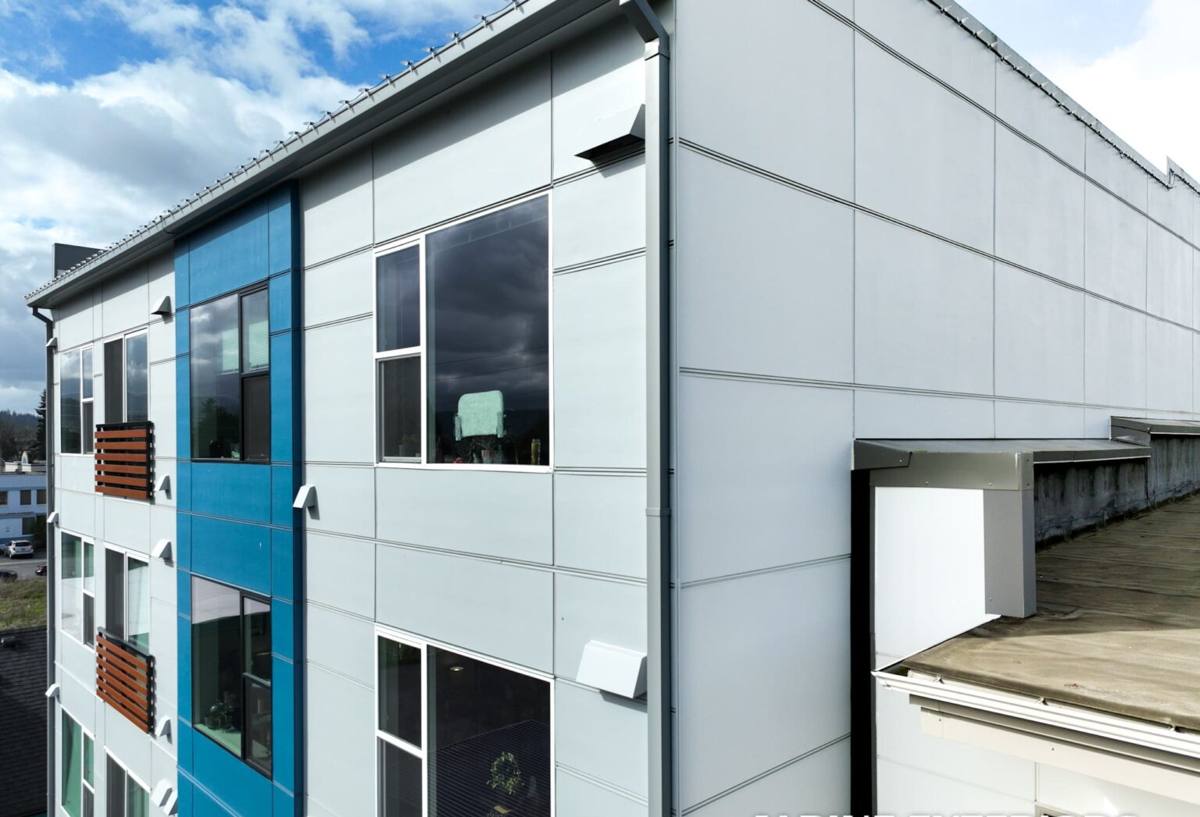
What Correct New-Construction Window Installation Actually Involves
"New-construction window" is a specific term in the trade — it refers to a window with a nailing flange (also called a nail fin) that's designed to be installed before the siding goes on, with the flange fastened directly to the sheathing and integrated into the drainage plane. That's different from a "replacement" or "pocket" window, which is built to slide into an existing opening without disturbing the exterior finish. Confusing the two, or having a crew install a new-construction window with replacement-window techniques, is one of the most common sources of water intrusion we get called out to inspect.
The Flashing Sequence That Actually Sheds Water
Water management around a window opening isn't optional trim work — it's a layered system, and the order matters as much as the materials. Done correctly, every layer overlaps the one below it like shingles on a roof, so water moving down the wall is always directed outward, never trapped behind the window.
- Sill pan flashing installed first, sloped or dammed so any water that gets past the window drains back out, not into the wall cavity
- Back dam or sloped sill to keep water from pooling against the bottom of the frame
- Window set into the opening, shimmed level and plumb, fastened per the manufacturer's schedule — not just "a few screws where it's convenient"
- Jamb and head flashing lapped over the nailing flange in the correct sequence, integrated with the water-resistive barrier
- Head flashing with a drip edge that sheds water clear of the opening below
- Sealant used only where specified — sealant is a backup to good flashing geometry, not a substitute for it
The single most common mistake we see on other builders' framing in this area is head flashing that's tucked under the WRB instead of over it, or a sill pan skipped entirely because "the window has its own weep holes." Neither shortcut shows up at final inspection. Both show up in year three or four, usually as sheathing rot that's expensive to open up and fix.
Nail-Fin vs. Block-Frame: Know What Your Plans Call For
Most residential new construction in Sunnyland uses nail-fin windows integrated with housewrap or a fluid-applied WRB. Some higher-end or masonry-adjacent designs call for block-frame windows set into a rough opening with a different flashing approach entirely. Your window installer should be reading your wall assembly and siding plan before ordering windows, not after — the flashing details, and sometimes the window style itself, change depending on what's going over the sheathing.
Choosing Window Frame Material for a Sunnyland Build
Frame material affects how a window handles our combination of salty air, sustained damp, and UV exposure during the brief but real summer sun. There's no single right answer — it depends on your budget, your exposure (a lot on a hill facing the bay versus a sheltered interior lot), and how much long-term maintenance you want to take on.
| Frame Material | Upfront Cost | Moisture & Salt-Air Tolerance | Ongoing Maintenance | Best Fit |
|---|---|---|---|---|
| Vinyl | Lowest | Good — won't corrode or rot | Low — occasional cleaning | Budget-conscious builds, rental or spec homes |
| Fiberglass | Mid to upper-mid | Excellent — very stable, resists warping | Low | Exposed sites near the bay, larger openings |
| Wood-Clad (exterior clad) | Highest | Good on the exterior face, but interior wood needs protection from condensation | Moderate — finish and seals need periodic attention | Custom builds prioritizing interior wood aesthetics |
| Aluminum | Mid | Poor without thermal breaks — prone to condensation and corrosion in salt air | Moderate to high | Rarely our recommendation for this climate |
We don't push one manufacturer or one frame material on every job. Our job is to size up your specific lot — how exposed it is to weather off the bay, how much shade and moss risk you have, your siding choice — and steer you toward the frame that will actually hold up, not just the one with the best margin for us.
Our New-Construction Window Process
We work directly with builders and homeowner-GCs across Bellingham, and our process is built to slot into a framing schedule without becoming the bottleneck.
Before Windows Arrive
We verify rough openings against the window schedule before the order goes in — a wrong opening size caught before delivery costs nothing; caught after, it costs a week. We also confirm the WRB and siding plan so the flashing detail is decided in advance, not improvised on-site.
Install Day
- Rough opening inspected for square, level, and proper sheathing condition
- Sill pan flashing installed and tested for drainage before the window ever goes in
- Window set, shimmed, and fastened to manufacturer specification
- Jamb and head flashing integrated with the WRB in proper shingle-lap order
- Interior and exterior sealant applied only where the manufacturer's install guide calls for it
- Every opening photographed at each flashing stage before it's covered by siding
After Siding Goes On
We do a final walk with the builder or homeowner to confirm operation, sweep out shims and debris, and check that trim and caulking around the finished opening are tight. Any adjustment issues — a window that's not swinging or sliding smoothly — get caught here, not after move-in.
Energy Performance and Local Code
Washington's energy code sets minimum U-factor and, in many cases, solar heat gain coefficient requirements for new-construction glazing, and those requirements get checked at permit and inspection. Bedrooms and other habitable spaces also have egress size and sill-height rules that affect which window styles are even legal to use in certain rooms. We size and spec windows to meet code the first time — failed inspections over glazing specs are a preventable delay on a new build, and we'd rather solve that at the order stage than at the inspection stage.
Beyond the code minimum, it's worth thinking about performance in terms of your actual site. A west-facing wall of glass looking toward the bay will gain and lose heat very differently than a shaded north wall, and it's reasonable to spec different glass packages room to room rather than one blanket choice for the whole house.
Why It Matters That We Already Work in Sunnyland
A crew that's worked other lots in and around Sunnyland already knows which streets sit exposed to wind off the bay, which lots hold moisture longer under tree cover, and how the neighborhood's mix of older and newer construction affects things like siding tie-ins and inspection expectations with the city. That local pattern recognition shows up in small decisions — which sill pan detail to use on a particularly exposed elevation, when to flag a builder's siding choice as a moisture risk before it's installed — that a crew unfamiliar with the area won't think to ask about.
It also means we're a known quantity to the builders and GCs we've already worked with here, which keeps scheduling and inspection coordination simple instead of adversarial.
Timeline and Coordinating With Your Builder
Window lead times vary by manufacturer and frame material, often four to eight weeks from order to delivery, longer for custom sizes or specialty glass. We coordinate directly with your general contractor or builder to make sure windows are ordered early enough to hit the framing schedule, and we schedule install for a dry stretch whenever the forecast allows — setting windows and flashing them properly in the middle of a driving rainstorm is avoidable with a little planning, and we plan for it.
If you're framing a new home or addition in Sunnyland and want windows specified, ordered, and installed correctly the first time, we're happy to walk your plans and give you a free, no-pressure estimate — just fill out the form below.