 Bellingham Siding
 Building It Right the First Time in Happy Valley
When you're framing a new home or a major addition in Happy Valley, the windows you install now set the tone for the next 30-plus years of that building's life. Unlike a replacement job, where a crew is working around existing siding and trim, new-construction window installation happens while the wall assembly is still open — which means there's no excuse for cutting corners on flashing, sealing, or fastening. Get it right at this stage and the windows should perform quietly for decades. Get it wrong and you're looking at hidden water intrusion that doesn't show up until there's rot in the sheathing.
Happy Valley sits close enough to Bellingham Bay and the broader Salish Sea shoreline that salt-laden air, wind-driven rain, and a long stretch of damp, mossy months are just part of building here. A new-construction window package needs to be selected and installed with that reality in mind, not treated like it's going into a dry inland climate.
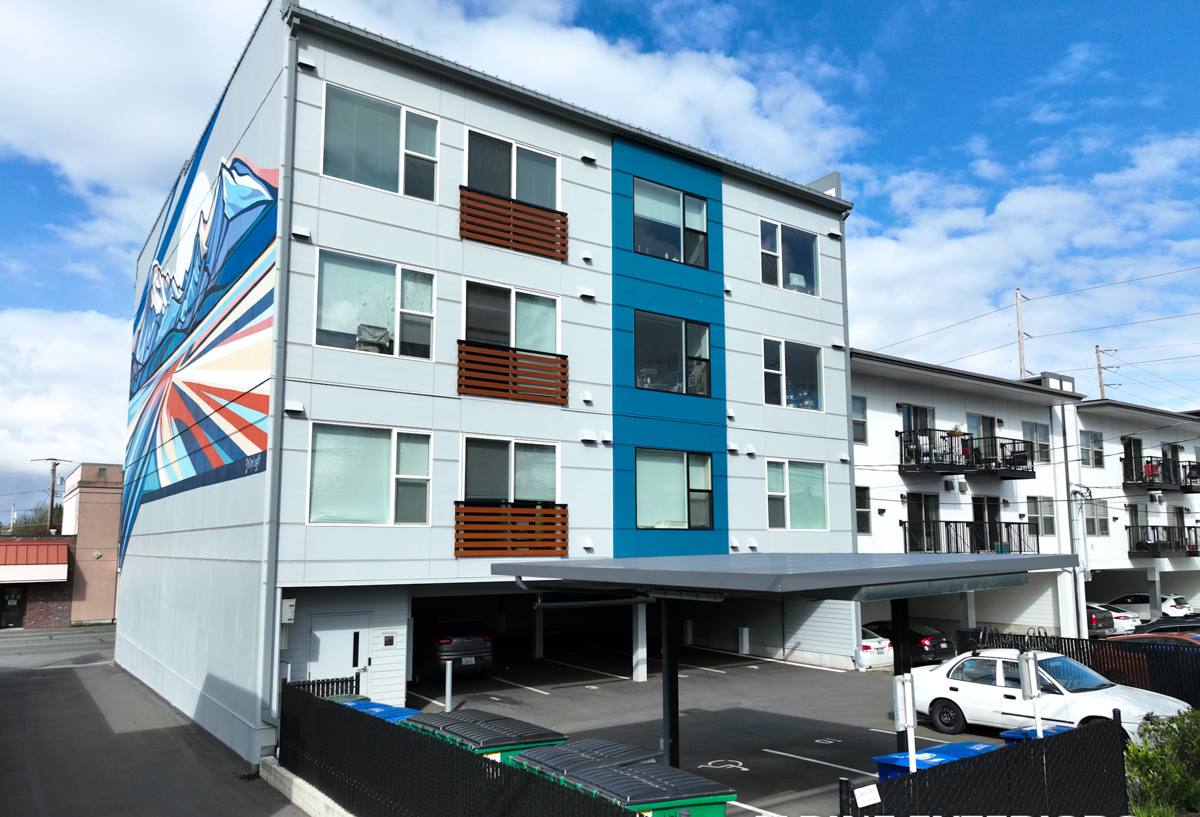
Why New-Construction Windows Are a Different Job Than Replacement
New-construction windows typically have a nailing fin (sometimes called a nail fin or flange) around the perimeter of the frame. That fin gets fastened directly to the wall sheathing before the weather-resistant barrier (WRB) and siding go on, which allows the window to be integrated into the building's water management system as one continuous layer rather than patched in afterward.
This matters because a new-construction install gives us full access to the rough opening, the sheathing, and the WRB layers in the correct sequence. There's no old caulk to remove, no mystery about what's behind the trim, and no guessing about how a previous installer handled the sill. It's a cleaner job — but only if every layer is installed in the right order and lapped correctly, shingle-style, so water always sheds outward and downward.
What This Means for Your Build
If you're a homeowner working with a builder, or building on a lot you own in Happy Valley, it's worth knowing that window installation isn't just "set it in the hole and screw it in." It's a sequenced part of the building envelope that has to be coordinated with your WRB, your siding installer, and your framer's rough openings. A siding contractor who handles both the window flashing and the exterior cladding can close that coordination gap, since the same crew that flashes the opening is also the one covering it.
What Happy Valley's Climate Actually Demands
Whatcom County doesn't get hurricane-force storms, but it gets something arguably harder on a building: long duration. Rain here often isn't a quick downpour — it's days of steady, wind-pushed moisture working at every seam, gap, and lap joint it can find. Add in salt air off the water and a moss season that stretches for months on shaded, north-facing walls, and you've got three separate stressors acting on a new window opening at once:
- Wind-driven rain that pushes water uphill and sideways against the frame, not just straight down
- Persistent moisture and shade that keeps wall assemblies damp longer after a storm than a drier climate would
- Salt-laden air that accelerates corrosion on lower-grade fasteners, hardware, and some metal flashing over time
None of these are exotic problems — they're just the normal cost of building near the water in the Pacific Northwest. But they mean a new-construction window package in Happy Valley should lean toward corrosion-resistant fasteners and flashing, generous overlap at every joint, and frame materials that won't degrade if a wall stays damp a little longer than the manufacturer's install sheet assumes.
The Building Envelope: Flashing, Housewrap, and Sill Pans
The Sill Pan Comes First
Before a window ever goes into the rough opening, the sill needs a sloped, sealed pan — either a manufactured flexible flashing pan or a built-up sloped sill — so that any water that does get past the window has a dedicated path back outside instead of soaking into the framing below. Skipping this step is one of the most common shortcuts in fast-track new construction, and it's the one that causes the most damage years later because it's invisible until there's a problem.
Shingle-Lap Sequencing
Every layer of tape, WRB, and flashing needs to overlap the layer below it, never the reverse — sill pan first, then the window, then jamb flashing, then head flashing, then the WRB laps over the top. It sounds simple, but it's the single most common thing we see done backwards on jobsites where windows were installed by a framing crew rather than a crew that specializes in the exterior envelope.
Sealant Placement
The nailing fin should be sealed at the sides and top but left open at the bottom, so any incidental moisture that gets behind the window can drain out through the weep path instead of pooling inside the wall. Fully sealing all four sides of a nail fin is a mistake we see often, usually made with good intentions — it actually traps water instead of shedding it.
Choosing the Right Frame Material for a Happy Valley Build
There's no single "best" window frame material for every project — it depends on your budget, the home's design, and how much upkeep you want to take on. Here's how the common options stack up for a coastal Whatcom County build specifically.
| Frame Material | Moisture & Salt-Air Tolerance | Maintenance | Typical Fit |
|---|---|---|---|
| Vinyl | Good — won't rot or corrode, but can become brittle over many decades | Low — occasional cleaning | Budget-conscious new builds, rental units, ADUs |
| Fiberglass | Excellent — dimensionally stable, resists both moisture and salt exposure well | Low | Homes wanting long service life without repainting |
| Wood-clad (wood interior, metal/vinyl exterior) | Good on the exterior cladding; interior wood must stay protected from any leaks | Moderate — depends on clad integrity over time | Traditional or craftsman-style new builds |
| Solid wood | Requires diligent maintenance in this climate; exposed wood exterior faces are the most vulnerable to our wet, mossy shoulder seasons | High | Historic-style projects where owners commit to upkeep |
We'll walk through these trade-offs honestly during your estimate rather than pushing one option — the right call depends on your elevation, sun exposure, and how much of the home is shaded by mature trees, which is common on many established Happy Valley lots.
Our New-Construction Window Process
- Rough opening check — we verify every opening is square, plumb, and sized correctly before a window ever arrives on site
- Sill pan flashing — sloped and sealed at the sill, with the pan extending well past the rough opening on both sides
- Window set and fastening — shimmed level and plumb, fastened per the manufacturer's schedule to hold up under our wind-driven rain
- Jamb and head flashing — installed in correct shingle-lap order, tied into the WRB above and beside the opening
- Sealant at sides and top only — bottom left open so any incidental moisture can drain
- Interior air-seal — low-expansion foam or backer rod and sealant around the interior perimeter for energy performance
- Final inspection — every opening checked before siding closes it up for good
Mistakes We Watch For on New-Construction Sites
Because we work regularly with builders and homeowners across Bellingham and Whatcom County, we see the same handful of issues repeat themselves on new construction. Here's what we check for on every job before the wall gets covered:
- Missing or improperly sloped sill pan flashing
- WRB and flashing layers lapped in the wrong order (a fast way to funnel water into the wall instead of away from it)
- Nailing fin fully sealed on all four sides, blocking the drainage path
- Under-fastened nailing fins that leave the window loose against wind loads
- Gaps in interior air-sealing that hurt energy performance even when the exterior is watertight
- Corner flashing patches cut too small to actually shed water past the corner
Catching these before the siding goes on is far cheaper and easier than finding them after drywall and paint, which is exactly why we treat the flashing inspection as a required step, not an optional one.
What Drives the Cost of a New-Construction Window Package
| Factor | Why It Matters |
|---|---|
| Number and size of openings | More and larger openings mean more flashing detail, material, and labor time |
| Frame material | Vinyl, fiberglass, and wood-clad carry different unit costs and lead times |
| Opening type | Standard single/double-hung and sliders install faster than large fixed picture windows or multi-unit combinations |
| Wall height and access | Second-story and vaulted openings require more time and equipment to flash correctly |
| Coordination with other trades | Tight scheduling with framers, WRB installers, and siding crews affects labor efficiency |
We'll give you a clear, itemized estimate rather than a vague lump sum, so you can see exactly what you're paying for and where the money goes.
Why Local Experience in Happy Valley Matters
A window installed to a manufacturer's spec sheet written for a national average climate isn't automatically installed correctly for Bellingham. Crews who work regularly in Whatcom County know to plan for a wetter, longer shoulder season, to expect salt air near the water, and to build in extra margin at flashing laps and fastener choice rather than the bare minimum. That local pattern-matching — knowing which details actually matter here versus which are just industry boilerplate — is the difference between a window that's dry in year one and a window that's still dry in year twenty.
We also work alongside builders on active job sites regularly, which means we're used to coordinating rough opening timing, WRB sequencing, and siding schedules without slowing the project down. If you're building or adding onto a home in Happy Valley, we're happy to walk the site, look at your window schedule, and give you a straightforward, no-pressure estimate on getting the windows in right the first time.