 Bellingham Siding
 Why Siding in Sehome Wears Differently
Sehome sits close enough to Bellingham Bay and the Salish Sea that salt-laden air is a constant factor, not an occasional one. Add Whatcom County's long wet season, driving rain that comes in sideways off the water, and shaded lots under mature trees that stay damp for months at a time, and you have a climate that is genuinely hard on exterior siding. Homes here don't fail because owners neglected them — they fail because the material or the installation wasn't built for this specific combination of moisture, salt, and shade.
We see the same failure patterns repeat across Sehome's mix of older bungalows, mid-century houses near Western Washington University, and newer infill construction: moisture trapped behind panels, moss and algae holding water against the surface, and caulk joints that gave out years before the siding itself did. Repair work in this neighborhood has to account for all three, not just patch the visible damage.
The Three Local Stressors
- Salt air: accelerates corrosion of fasteners, flashing, and any exposed metal trim, and speeds up the breakdown of lower-grade paint finishes.
- Driving rain: Bellingham's storms often come with real wind behind them, pushing water into seams, laps, and butt joints that would stay dry in a calmer climate.
- Moss season: shaded, north-facing, and tree-covered walls in Sehome can stay damp from October through May, giving moss and algae a long runway to establish and hold moisture against the siding surface.
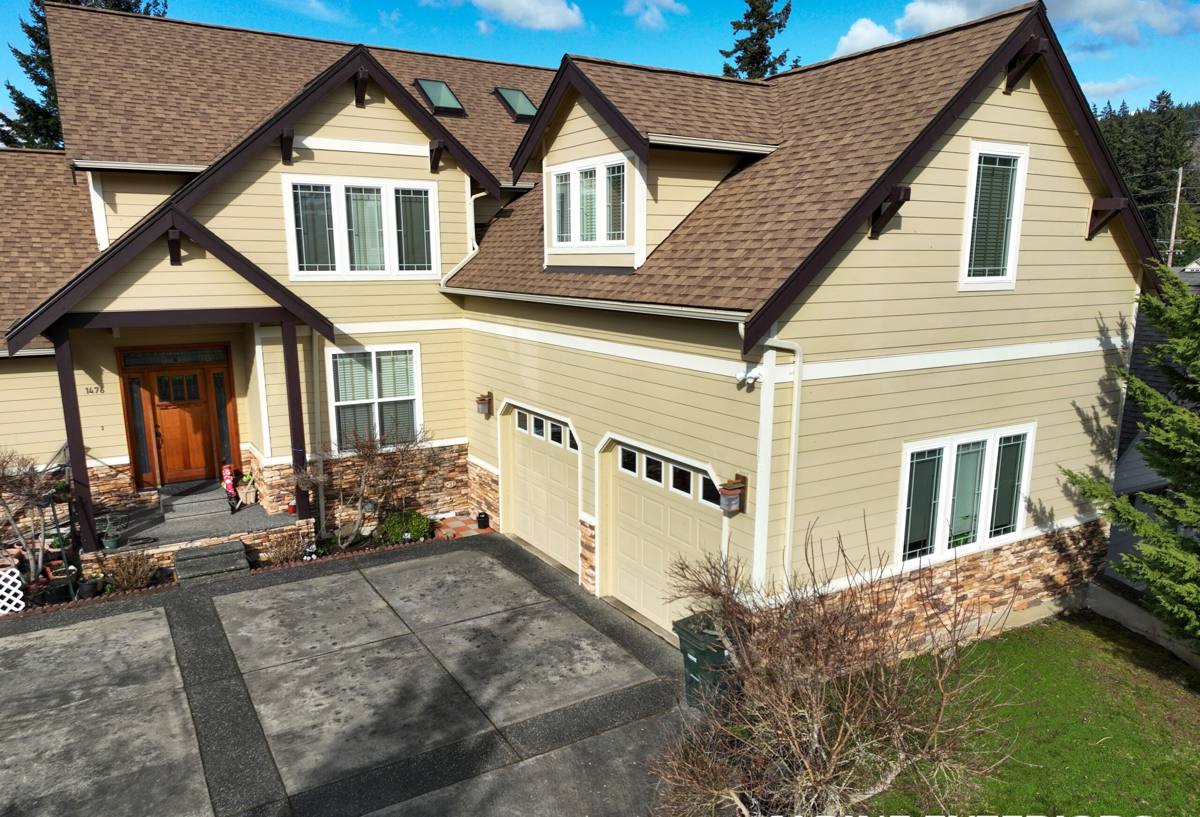
Signs Your Siding Needs Repair, Not Just a Look
Most siding problems in this neighborhood show up gradually, and a lot of homeowners wait too long simply because the damage isn't dramatic. By the time you can see a problem from the sidewalk, there's usually more happening behind the panel than in front of it.
- Soft or spongy spots when you press on the siding, especially near the bottom courses or around windows
- Visible moss or dark green-black staining that keeps coming back after cleaning
- Cracked, buckled, or bowed panels, particularly on walls that face prevailing weather
- Peeling or bubbling paint concentrated in one area rather than spread evenly across the house
- Gaps opening up at butt joints, corners, or where siding meets trim, window frames, or the foundation
- Rust streaks below nail heads or metal flashing
- A musty smell near exterior walls inside the house, which often points to moisture intrusion already in progress
What a Correct Repair Actually Involves
A lot of "siding repair" in this region amounts to cutting out a damaged board, nailing in a replacement, and caulking the edges. That approach treats the symptom and leaves the cause in place — which in a climate like Sehome's usually means the same failure comes back within a couple of seasons.
Diagnosis Before Repair
Before any board comes off, we want to know why it failed. That means checking the house wrap or building paper behind the siding, looking at flashing details around windows, doors, and roof-to-wall intersections, and confirming whether the damage is isolated or a sign of a systemic moisture path. Cutting into a wall without understanding what's underneath is how small repairs turn into repeat service calls.
Matching and Integration
Repaired sections need to match the surrounding siding in profile, reveal, and finish — otherwise you end up with a visibly patched wall. On Hardie siding specifically, this means matching plank width and texture and making sure factory-finished ColorPlus panels are cut and capped correctly so the new material weathers the same way as the old.
Flashing and Water Management
Most repeat siding failures near the coast trace back to flashing, not the siding material itself. Correct repair work re-establishes proper drainage planes, laps flashing correctly at penetrations, and makes sure water has a way out if it does get behind the cladding — because in this climate, assuming water will never get behind the siding is not a safe assumption.
Repair vs. Replacement: How We Decide
Not every damaged section needs a full re-side, and not every house is a good candidate for spot repair. The right call depends on how much of the wall is affected, how old the existing material is, and what's driving the damage.
| Factor | Favors Repair | Favors Replacement |
|---|---|---|
| Extent of damage | Isolated to one or two wall sections | Spread across multiple elevations |
| Underlying cause | Single identifiable issue (impact damage, one bad flashing detail) | Systemic moisture intrusion or widespread rot |
| Material condition | Rest of siding is sound and matches available replacement stock | Existing siding is near end of service life or discontinued |
| Underlying sheathing | Sheathing and framing test dry and solid | Sheathing shows soft spots or moisture damage |
| Original material | House is already Hardie fiber cement | House is vinyl, LP SmartSide, or bare wood needing frequent upkeep |
We'll always tell you honestly which category your house falls into. A targeted repair that's done right is often the smarter, less disruptive choice — we don't push replacement when repair will genuinely solve the problem.
Why the Material You Repair With Matters
We only install James Hardie fiber cement siding, and that standard applies to repair work as much as full re-sides. When we're patching into an existing wall, we use Hardie's climate-engineered HZ product lines and factory-applied ColorPlus finish, because they hold up to the moisture and salt exposure common in Sehome the way vinyl and engineered wood products often don't over the long run.
If your home currently has vinyl, LP SmartSide, cedar, or primed spruce siding, we can still repair sections in a matching material to get you through in the short term. But if you're looking at a larger repair or a section that keeps failing, that's usually the point where it's worth talking about transitioning that wall — or the house — to fiber cement. Hardie is non-combustible, resists moisture-driven swelling and rot far better than wood-based products, and carries a strong transferable warranty backed by factory finishing rather than field-applied paint that has to be maintained on a schedule.
Our Repair Process
- On-site inspection: we look at the damaged area and the wall assembly behind it, not just the visible siding.
- Honest diagnosis: you get a clear explanation of what caused the failure and whether repair or replacement is the right fit.
- Written scope and estimate: no vague verbal quotes — you see exactly what's being repaired and why.
- Moisture and flashing correction: we fix the underlying water path before any new siding goes on.
- Matched installation: replacement panels are cut, fastened, and finished to match the surrounding siding.
- Final walkthrough: we go over the completed work with you before we consider the job done.
Why a Crew That Already Works in Sehome Makes a Difference
Sehome's housing stock spans a wide range of ages and construction styles, from older homes near the university to newer builds, and each era tends to have its own typical trouble spots — different flashing details, different original siding materials, different framing quirks. A crew that has already worked on houses in this specific neighborhood recognizes those patterns quickly instead of treating every job as a first guess.
Local experience also means we understand Whatcom County permitting requirements and Bellingham's climate demands firsthand — not from a manual, but from doing repair work through actual moss seasons and actual coastal storms. That matters when you're deciding how urgently a repair needs to happen and how it should be built to hold up next winter, not just look fine this summer.
What to Expect: Timeline and Disruption
Most spot repairs on a single wall section can be completed in a day or two once the scope is confirmed, weather permitting — and in this climate, we do plan around forecasted rain rather than working through it, since fiber cement installation and sealing need reasonably dry conditions to be done correctly. Larger repairs involving multiple sections or flashing corrections take longer, and we'll give you a realistic timeline before work starts, not an optimistic one.
Simple Homeowner Checklist Before You Call
- Note which walls or areas show damage, moss, or staining
- Check whether the issue is new or has been recurring in the same spot
- Look for any signs of interior moisture — musty smell, discoloration on interior walls near the affected area
- Have a rough sense of your siding's age or material, if known
- Avoid pressure-washing damaged areas before an inspection, as it can push water further behind the siding
If you're seeing moss, cracking, soft spots, or recurring damage on your Sehome home, it's worth having it looked at before another wet season makes it worse. We offer free, no-pressure estimates — use the form below to get a straightforward assessment of what's going on and what it will actually take to fix it right.