 Bellingham Siding
 A deck in the Puget area of Whatcom County lives a harder life than the same deck built inland. It sits closer to salt-laden air off the water, takes on driving rain for months at a stretch, and spends a good chunk of the year shaded and damp enough to grow moss on anything that isn't sloped, sealed, or ventilated correctly. None of that means a deck here can't last decades. It means the details that get skipped on a quick, cheap build are exactly the details that matter most in this location.
What This Climate Actually Does to a Deck
Three things define deck-building conditions in the Puget area, and they compound each other. Salt air accelerates corrosion on anything metal that isn't rated for coastal exposure — fasteners, joist hangers, post bases, even some lower-grade flashing. Driving rain doesn't just fall straight down; wind-driven moisture gets pushed sideways into ledger connections, under railings, and into end-grain cuts that weren't sealed. And the long stretch of overcast, wet months from fall through spring keeps horizontal surfaces damp far longer than a sunny climate would, which is exactly what moss, algae, and mold need to take hold.
Individually, any one of these is manageable. Together, they punish shortcuts. A deck built with standard interior-grade hardware, minimal drainage slope, and no real airflow underneath will show problems — soft boards, rust streaks, slick green surfaces, loosening rail posts — years before the same deck built correctly would.
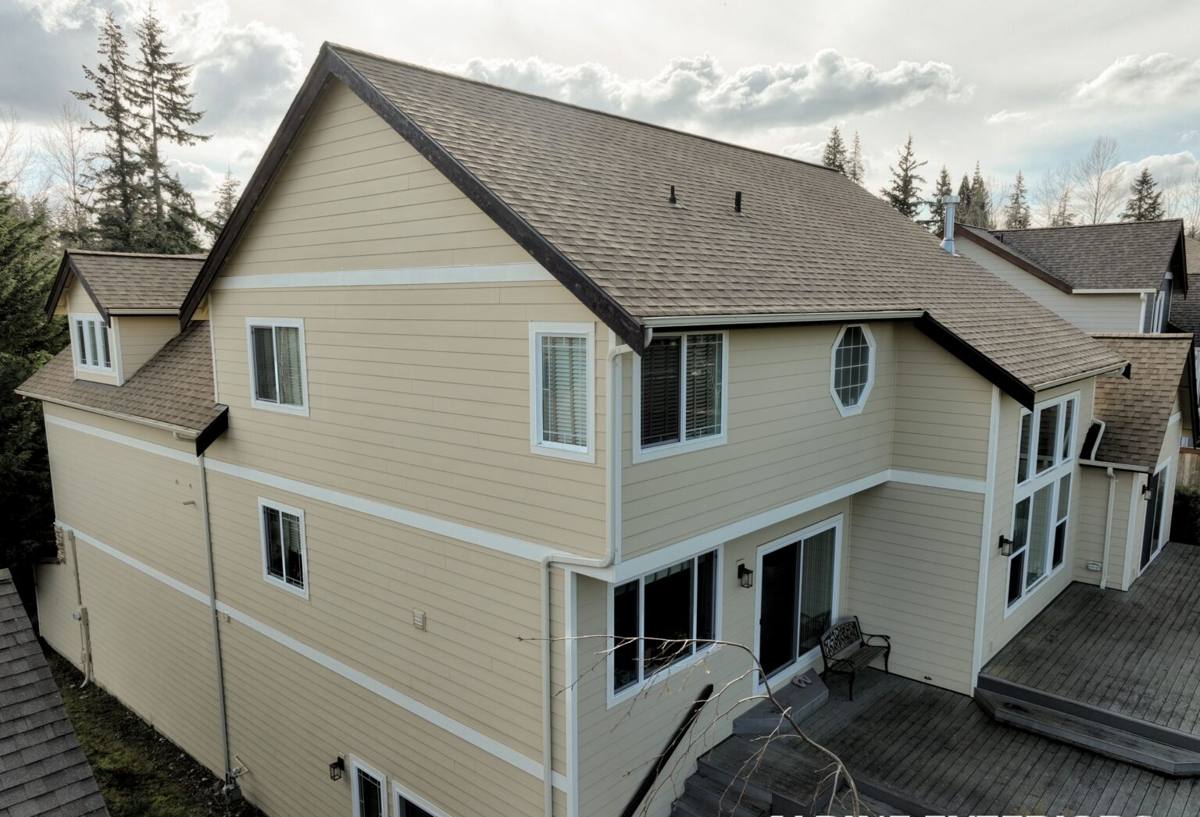
Choosing Decking Material for a Marine-Influenced Site
There's no single "best" decking material for every Puget-area home — it depends on budget, how much upkeep you're willing to do, and how exposed the site is to sun, shade, and weather. Here's how the common options actually perform under these conditions.
| Material | Upfront Cost | Maintenance Here | How It Handles Moss/Damp |
|---|---|---|---|
| Pressure-treated wood | Lowest | Annual cleaning and re-sealing to stop cupping and gray-out | Needs regular treatment or moss and algae take hold fast in shaded spots |
| Cedar | Mid | Sealing every 1-2 years; naturally more rot-resistant than PT but not maintenance-free | Better natural resistance, but still needs airflow underneath to stay dry |
| Composite (capped) | Highest | Occasional washing, no sealing or staining | Resists rot entirely, but a capped surface can still get slick with algae in deep shade and needs periodic cleaning |
| Composite (uncapped/older) | Mid-high | More prone to surface moisture absorption than capped composite | Can hold moisture at the surface longer than capped boards; less common in new builds now |
For homes with significant tree cover or a north-facing deck that doesn't get much sun, we lean harder toward capped composite or well-sealed cedar, simply because those surfaces dry out faster and give moss less to grab onto. For a sunny, open deck with good airflow, quality pressure-treated wood is still a perfectly sound, budget-conscious choice — as long as it gets maintained.
Railings and Fasteners Matter as Much as the Decking
Homeowners often focus entirely on the decking material and treat railings and hardware as an afterthought. In a salt-air environment, that's backwards. Standard electro-galvanized fasteners and connectors will show rust streaking within a year or two near the water. We use stainless steel or heavy hot-dip galvanized hardware rated for coastal/marine exposure on every connection point — joist hangers, ledger bolts, post bases, and deck screws — because that's the hardware that's still doing its job structurally in ten years instead of just cosmetically failing in two.
Framing and Substructure: Where Decks Actually Fail First
Almost every deck failure we get called out to inspect started below the visible surface, not on top of it. The framing and connection points are where driving rain and dampness do the real damage, because they're harder to see and easier to build wrong the first time.
- Ledger board attachment: Where the deck ties into the house is the single most common failure point on any deck, anywhere — and it's worse here because wind-driven rain pushes moisture directly at that seam. Correct flashing, a proper water-resistive barrier detail, and code-compliant fasteners at this connection are non-negotiable.
- Joist protection: Cut ends and drilled holes in pressure-treated lumber expose untreated wood underneath. Every cut and every fastener hole should get sealed in the field, not just relied on to be "treated enough" from the mill.
- Post bases and footings: Posts should sit on bases that hold them above standing water and grade contact, not buried or resting directly on concrete where moisture wicks upward.
- Airflow underneath: A deck built low to the ground with poor ventilation traps moisture underneath the whole structure. That's a slow rot problem you won't see until boards start feeling soft.
Drainage and Moss Management by Design
You can't caulk your way out of a moss problem after the fact — it has to be designed out from the start. A correctly built deck sheds water instead of holding it, which starves moss and algae of the standing moisture they need to establish.
That comes down to a few specific things: a slight slope in the framing so water runs off rather than pooling on the surface, board spacing that's wide enough for water to drain through and air to circulate but tight enough to stay comfortable underfoot, and — where a deck sits over a living space or patio below — a proper under-deck drainage system rather than just gaps and hope. In heavily shaded yards, which are common on wooded Whatcom County lots, we also think about board orientation and any nearby landscaping that keeps a deck damp longer than it needs to be.
Permitting and Code Considerations Locally
Deck construction in and around Bellingham is subject to Whatcom County or City of Bellingham building code depending on exactly where the property sits, and most decks above a certain height or size require a permit and inspection. That covers things like guardrail height and baluster spacing, footing depth (frost depth matters even in our relatively mild winters), and structural connection requirements at the ledger. Skipping permitting on a deck that requires one isn't just a legal risk — it can complicate a home sale down the line when a buyer's inspector or the county has no record of the work.
We handle permitting as part of the build rather than leaving it to the homeowner to sort out, and we build to the code requirements that apply to your specific address rather than a generic national standard.
Our Process, Start to Finish
Every deck project follows the same basic sequence, though the specifics change with the site:
- On-site assessment: We look at sun exposure, drainage patterns, existing structure (if replacing a deck), and how close the site is to salt air influence, since that changes our hardware and material recommendations.
- Design and material selection: We walk through decking, railing, and hardware options against your budget and how much maintenance you actually want to do long-term.
- Permitting: We pull the required permits and schedule inspections so the build is fully compliant, not just built to look right.
- Demolition (if applicable): Old decking, framing, and any compromised structural members get removed and hauled off.
- Framing and structural work: Ledger flashing, joists, footings, and post bases go in first, with coastal-rated hardware throughout.
- Decking, railing, and finish work: Surface material and railings are installed, sealed or capped as appropriate to the material.
- Final walkthrough and inspection: We review the finished deck with you and make sure any required final inspection is completed.
What Regular Deck Maintenance Should Look Like Here
Even a well-built deck needs some ongoing attention in this climate — the difference is that a correctly built deck needs far less of it, and what it does need is straightforward.
- Sweep or blow off leaves and debris regularly, especially in fall, so damp organic material doesn't sit on the surface
- Wash the deck surface at least once or twice a year to remove early moss and algae growth before it establishes
- Check and clear any gaps between boards so water keeps draining through rather than pooling
- Inspect railings and structural connections annually for any looseness or visible rust at hardware points
- Reseal wood decking on the manufacturer-recommended schedule — don't wait until it's visibly gray and dry
- Trim back overhanging branches and nearby vegetation that keep sections of the deck shaded and damp longer than the rest
Why It Matters That We Already Work in This Area
A crew that mostly builds decks in drier, inland climates will often use the same hardware, the same drainage details, and the same maintenance advice everywhere, because it's never had to answer for a deck failing under conditions like this. Building decks in and around Puget and the rest of Bellingham means we've seen which fasteners actually hold up to salt air over years, which framing details keep moss from creeping in during the wet months, and which shortcuts show up as problems in year three instead of year fifteen. That's not something you can fully substitute with a generic build spec — it comes from building here, repeatedly, and paying attention to how those decks actually age.
If you're planning a new deck or replacing one that's showing its age, we're glad to come take a look and talk through what makes sense for your site. Reach out for a free, no-pressure estimate — there's a form right below to get started.