 Bellingham Siding
 Building New in Puget Means Building for Marine-Climate Weather From Day One
If you're framing a new home in the Puget area near Bellingham, the windows you choose and how they're installed will matter more than almost any other exterior decision you make. This is Whatcom County — salt air off the Sound, long stretches of driving rain, and a moss season that seems to stretch a little further into the calendar every year. Windows here don't just have to look good going in. They have to keep performing after ten winters of wind-driven water testing every seam.
New construction gives you an advantage that a remodel never will: a completely open wall, no old flashing to work around, and a chance to build the water management right the first time. The catch is that this advantage only pays off if the installer treats it that way. A window set into a rough opening without proper flashing sequence, sill pan, and weather barrier integration will leak eventually in this climate — it's just a matter of which winter.
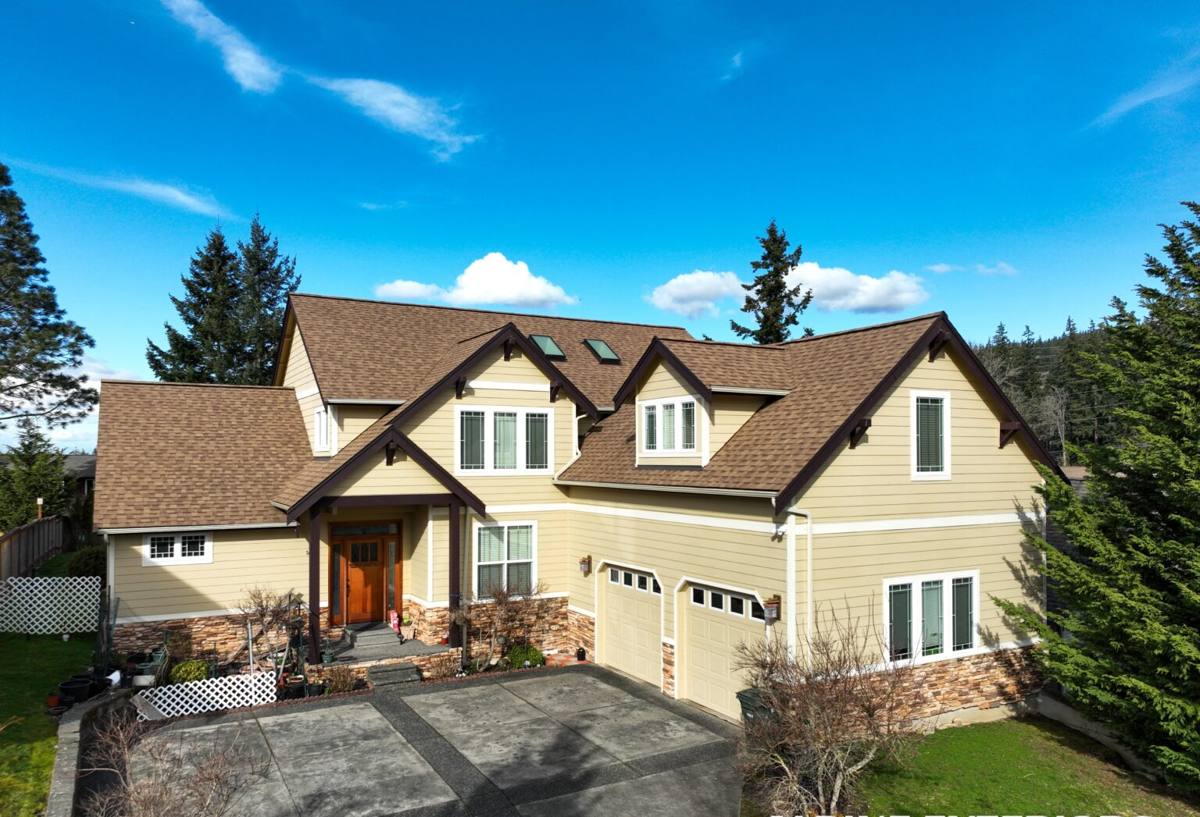
New-Construction Windows vs. Replacement: Why the Job Is Different
Full Frame Access, One Chance to Get the Water Path Right
In a replacement, we're working around an existing opening and often patching around old flashing decisions someone else made years ago. In new construction, the rough opening is bare — sheathing, house wrap, and framing are all exposed. That means every layer of the water management system is visible and adjustable before the siding ever goes on. It also means there's no old flashing to blame if something goes wrong later. The install has to be right the first time, because it gets covered up and stays covered for decades.
Working From Plans, Not Guesswork
New builds mean we're installing against architectural plans and a framing crew's rough openings rather than measuring an existing hole. That requires coordination — confirming rough opening sizes match window schedules before the windows are ordered, checking that openings are square and plumb before we ever set a unit, and flagging framing issues early instead of forcing a window to fit a bad opening.
What a Correct Installation Involves on a New Build
Sill Pan Flashing First
Every window opening should get a sloped or pan-flashed sill before the window ever goes in. In a climate with as much wind-driven rain as Bellingham sees, any water that gets past the window — and eventually, some always does — needs a built-in path back outside instead of into the framing. Skipping this step is one of the most common shortcuts we see, and it's invisible until there's already rot behind the wall.
Flashing Sequence and Water-Shedding Order
Flashing has to be layered so that every piece sheds water onto the layer below it, like shingles — house wrap over the flange at the top, flashing tape or metal integrated at the sides and sill, never taped in a way that traps water behind the window instead of directing it out. This sequencing is standard building science, but it's also the step most often rushed on a tight framing schedule.
Integrating With the Weather-Resistive Barrier
The window flange has to tie into the house wrap correctly, not just get taped over on top of it. Done wrong, you get a shingle-lapped barrier that actually directs bulk water toward the window opening instead of away from it. This is one of the easier things to get wrong quickly and one of the hardest problems to diagnose later, because the siding hides it completely.
Fastening and Sealant — Both, Not One Instead of the Other
Windows need mechanical fastening per the manufacturer's schedule, not just adhesive or sealant holding them in place. Sealant is a backup line of defense, not the primary one. We follow manufacturer installation instructions on fastener type, spacing, and location, since that's also what keeps the warranty valid if a problem ever shows up.
Choosing Windows That Hold Up Near Puget Sound
Frame material matters more here than in a drier inland climate, because salt-laden air and near-constant moisture accelerate wear on anything prone to corrosion or water absorption. There isn't one "correct" choice for every home — it depends on budget, architectural style, and how exposed the building site is to wind and salt spray — but the trade-offs are worth understanding before you order windows.
| Frame Material | Moisture & Salt Air Resistance | Maintenance | Typical Cost Range |
|---|---|---|---|
| Vinyl | Good — won't corrode or rot, but can flex or discolor with age | Low | Lower |
| Fiberglass | Very good — stable in wet, temperature-shifting conditions | Low | Mid to upper |
| Wood-clad (exterior clad, interior wood) | Good on the exterior face; interior wood needs protection from any moisture intrusion | Moderate | Upper |
| Bare wood | Poor in this climate without diligent upkeep — prone to rot if finish fails | High | Varies |
We'll walk through these trade-offs against your budget and design goals rather than pushing one product line. What matters most to us is that whatever frame you choose gets installed with a correct flashing and drainage plan — a premium window with a bad installation will fail before a mid-range window installed correctly.
Glass Packages Worth Considering
For homes in the Puget area, a good low-E, argon-filled double-pane unit is a reasonable baseline, with triple-pane worth considering on north- and west-facing walls that take the brunt of Sound-driven wind and rain. Impact-rated or laminated glass isn't standard requirement here the way it is in hurricane zones, but it's worth discussing for exposed elevations if you want extra durability against wind-driven debris.
Our New-Construction Window Process
1. Plan and Rough Opening Review
Before windows are ordered, we review the plan set and confirm rough opening dimensions against the window schedule. Catching a mismatch here is far cheaper than discovering it after windows arrive on site.
2. Site Verification
We check that framed openings are square, plumb, and correctly sized once the framing crew has them ready, and flag anything that needs correction before install day.
3. Sill Pan and Flashing Installation
Sill pans go in first, followed by the correct flashing sequence at the jambs and head, integrated with the house wrap in the proper shingle-lap order.
4. Setting and Fastening the Window
Windows are set plumb, level, and square, shimmed correctly to avoid frame distortion, and fastened per manufacturer specification — not just tacked in place.
5. Final Seal and Inspection
Exterior sealant is applied at the appropriate joints only — not everywhere, which can trap water — and we do a final check of operation, seal, and squareness before moving on.
Mistakes We Commonly Correct or Prevent on New Builds
- Skipping sill pan flashing because "the window has its own gasket"
- House wrap taped over the flange instead of properly lapped, reversing the water path
- Sealant used as the only defense against water intrusion instead of proper flashing
- Windows fastened before confirming the opening is square, leading to operational problems later
- Rough openings sized to a generic assumption instead of the actual ordered window dimensions
Living With Windows in a Marine Climate: Upkeep That Actually Matters
A correctly installed window in Bellingham's climate needs far less attention than a poorly installed one, but a little seasonal care goes a long way given the salt air, rain volume, and moss season this area sees.
- Rinse exterior frames periodically to clear salt residue, especially on homes closer to the Sound
- Check exterior caulk joints once a year for cracking or separation, particularly after a hard winter
- Keep gutters and nearby drainage clear so water isn't sheeting across window heads
- Watch for moss or algae buildup on sills and horizontal trim during the wetter months and clean it off before it holds moisture against the frame
- Operate and lubricate hardware occasionally so weep holes and drainage tracks stay clear of debris
Why Hiring a Crew That Already Works in Puget Matters
Building science for windows isn't regional in theory, but in practice the consequences of getting it wrong show up faster in a climate like this one. A crew that installs windows in drier parts of the state can get away with shortcuts that simply don't hold up under Whatcom County's rain volume and salt exposure. Working new-construction windows in and around Puget and greater Bellingham day in and day out means we've already seen how flashing details, siding transitions, and drainage planes need to come together on this coastline — and we build to that standard by default, not as an upgrade.
If you're planning a new build in Puget and want windows installed the way this climate actually demands, we're happy to walk the plans with you and put together a straightforward, no-pressure estimate. Use the form below to get started.